- Concrete Driveways Info
- Concrete Driveway Pictures
- Exposed Aggregate
- Stamped Concrete Driveways
- Stained Concrete Driveways
- Modern Concrete Driveways
- Driveway Width
- Concrete Driveway Projects: Submitted by driveway contractors across the U.S.
- Concrete Driveway Cost
- Installing and Maintaining Concrete Driveways
- Concrete Driveway Construction Basics
- How to Clean a Concrete Driveway
- Concrete Driveway Maintenance
- Concrete Driveway Resurfacing
- Concrete Driveway Repair
- Driveway Sealer for Concrete
- Related Information
- Design Ideas: Concrete Driveway Info
- Concrete Contractors: Find Concrete Products and Suppliers
A Miraculous Makeover
From the front yard to the back, all the exterior concrete of this home was transformed using concrete stainProject submitted by Kevin Brown, KB Concrete Staining, Norco, Calif.
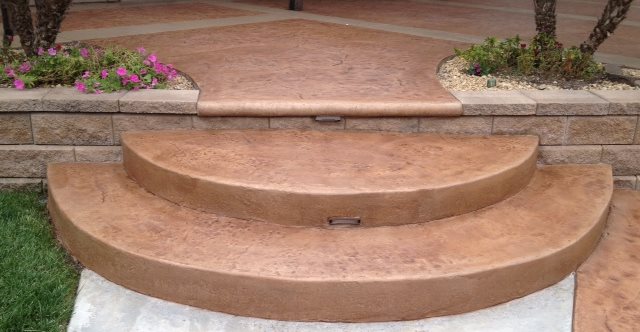
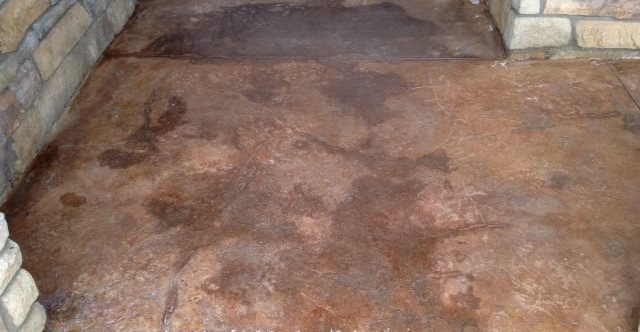
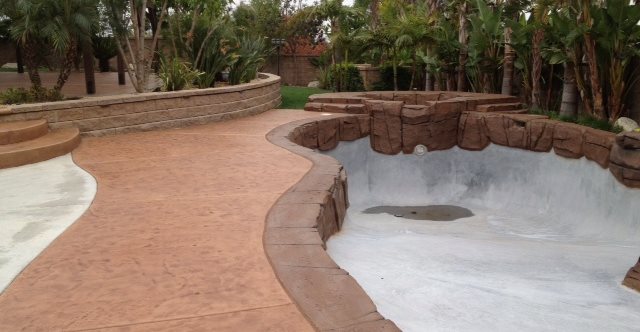
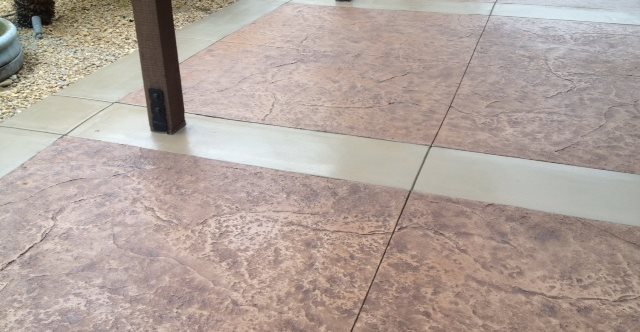
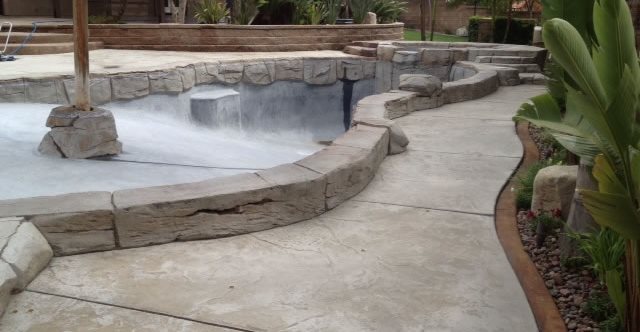
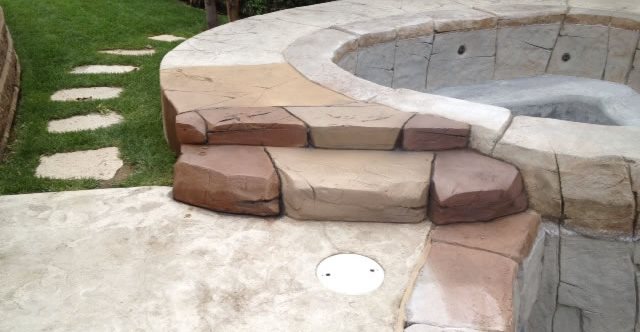
The Tuttle residence in Rancho Cucamonga, Calif., is the perfect example of how you can use concrete stains and overlays to completely revitalize existing concrete. The entire home is surrounded by colored and stamped concrete, including a stamped concrete pool deck and patio, a manmade rockscape around the in-ground pool and spa, and a colored concrete driveway, porch and entryway. The concrete was in great condition, but the color wasn’t, and had become faded and blotchy over time.
“The homeowners wanted to make the concrete stand out, or ‘pop.’ A complete restoration from front to back was planned so that all the colors would flow from the front to the rear of yard,” says Kevin Brown of KB Staining, a company that specializes in repairing, restoring and staining existing concrete.
The challengeAlthough the existing concrete was in good shape, the job involved working with a variety of different surface finishes and textures, including smooth, broom-finished and stamped concrete. “The existing stamped concrete had an overall appearance of a white haze, which ended up being the sealer failing. The existing smooth concrete integral color bands were faded and blotchy and needed to be restored. The existing pool and spa decking had lost all of its original color, and the manmade rock had no color left in it, so a complete restoration of those surfaces was needed,” says Brown.
Secrets to successBefore starting the project, Brown showed the Tuttles sample colors and small texture boards so it would be easy for them to choose a design scheme that would work well with their home. On the existing manmade rock, he applied actual color samples for approval. “I have found that it is very easy for clients to choose from a custom-made sample on a real piece of concrete rather than a small color chip from a sample chart. It makes it easy for them and me,” he says.
For the entire project, Brown used only solid-color, water-based stains. “Keeping the environment clean is very important, and working with acid is not that environmentally friendly. You can achieve the same looks as acid and better when working with water-based stains, and there is no residual clean up like acid,” he says.
To strip the sealer and color on the existing stamped concrete patio, Brown applied a biodegradable, low-VOC concrete coating stripper. On the existing smooth concrete bands, the pool deck and the manmade rock, he prepped the surface using a noncorrosive concrete cleaner and light etching compound.
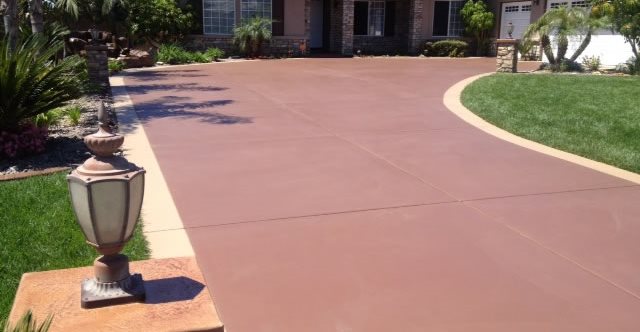
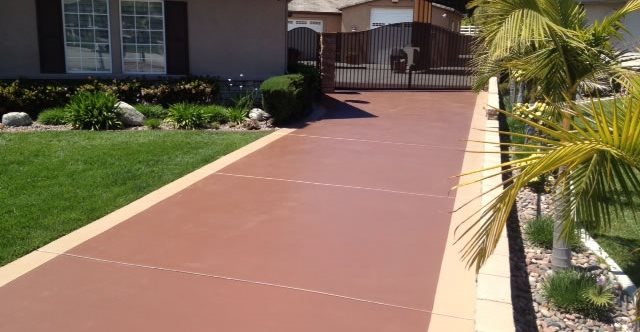
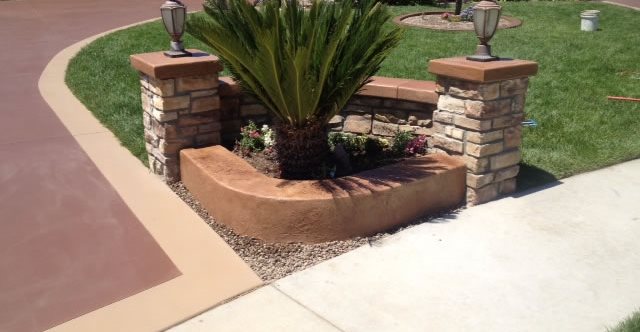
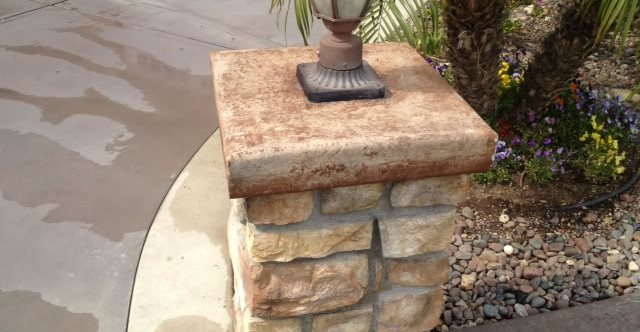
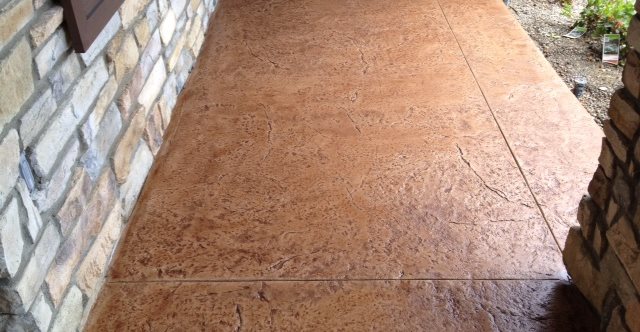
On the driveway, Brown stained the main field of concrete Buffalo Brown, and then cut a decorative border about 12 inches from the edge of the concrete and stained it with a lighter coordinating shade (Cowboy Dust). On the front porch, he applied a decorative overlay and textured it to match the front manmade stone entry columns. For the front porch stain colors, he used Sierra as a base enhanced by the same Buffalo Brown shade used for the driveway. He also stained the existing column caps and entry wall caps to match.
In the backyard, Brown continued the earth-toned color scheme on the existing stamped concrete patio and pool deck, applying solid-color stain in Sierra as a base and Buffalo Brown as an enhancer on top. For the manmade rock on the pool and spa, he applied a water-submersible stain in the shades of milk chocolate, black and Phoenix tan, which he had custom blended. All of the concrete was sealed with two coats of water-based, abrasion-resistant sealer in a matte finish.
To apply the stain, Brown prefers to use brushes because they give him greater control. “I applied the enhancer with a small, round brush, and for the manmade rock, I used small paintbrushes, a HVLP spray gun, and sometimes a small airbrush gun. As for the sealer, I usually just brush it on in light coats. It is more uniform and even, and I get better results that way,” he says.
Brown’s attention to detail and meticulous stain application techniques were well worth the effort. The Tuttles were extremely satisfied with the results and said that the whole project exceeded their expectations.
“I have been staining concrete for about 14 years and love what I do,” says Brown. “I get a great sense of accomplishment when I'm done restoring an old piece of decorative concrete or a newly poured decorative concrete piece that I have poured and stained.”
Materials used
Acrylic paint and sealer remover: NewLook EasyStrip 1000
Exfoliating concrete cleaner: NewLook EcoAcid
Water-based concrete stains: NewLook Solid Color, SmartColor and Translucent Color Enhancer
Concrete sealer: NewLook SmartSeal WB
Stain applicator brushes: NewLook
Concrete overlay: Super-Krete
Staining contractorKevin Brown
KB Concrete Staining
Norco, Calif.
