- Concrete Walkways and Sidewalks
- Concrete Walkway Pictures
- Decorative Finishes for Existing Walkways
- Fix and Color Existing Concrete Walkways
- Sidewalk Repair - Resurfacing Concrete Walkways
- Design Ideas for Concrete Walkways
- 10 Ideas for Concrete Entryways
- Stairs and Steps
- Stamped Concrete Walkways
- Concrete Garden Bridges
- Front Porch Designs and Ideas
- Installing and Maintaining Concrete Walkways
- Concrete Walkway Cost
- Building Tips for Concrete Sidewalks & Walkways
- Sealing and Protecting Walkways & Sidewalks
- Sidewalk Pavers
- Other Resources
- Concrete Contractors: Find Products and Suppliers
Concrete Garden Bridges
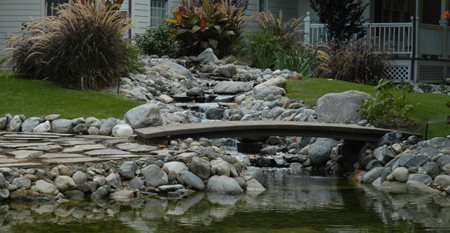
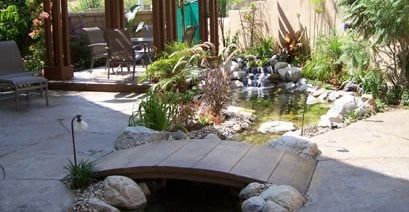
Garden bridges span the gap between one outdoor room and another. The placement of a bridge inspires visitors to cross over from one area to another and explore the garden in total. These functional ornaments perform double-duty in the garden, both connecting and dividing space at the same time. Proper bridge placement can improve transition and flow throughout your garden or poolscape design
Bridges can be made from a variety of different woods, but all have the disadvantage of requiring maintenance. Why sand, stain and seal a wood bridge year after year when you can build it out of concrete?
Nearly all of the bridges in my garden designs are constructed from cast concrete to mimic either wood or stone. A concrete bridge is structurally superior to wood, requires little or no maintenance, and will never splinter. Costs to construct a concrete bridge are comparable to a wood bridge but have the added benefit of a much longer life-span. While not easy to build, any mason with stamped concrete experience can create a cast concrete bridge.
Designing your Bridge
Consider the amount of traffic flow the garden will receive to decide how wide the bridge must be. Typical residential gardens require a bridge 3-4 feet wide for basic traffic. If you have larger parties and need comfortable passing space in both directions, then use a minimum width of 5 feet. In order for a bridge to look proportionate consider that the wider you make it, the longer it needs to be.
Footings and Forms
- Footings, steel size, spacing details, and span should all be determined by a licensed structural engineer. Companies like Pool Engineering Inc, have standard details that are adaptable for different sized bridges.
- Pour your footings and leave your steel flying high. Bend steel over forms and tie off.
- Cast a cantilever in the outside edge on both sides to look more like real boards - most bridges end up 4-6 inches thick. Set your cantilever so it appears that the "boards" were just 2-3 inches thick.
- Use a lighter color tan or buff base concrete and two shades of darker browns or charcoals as release agents.
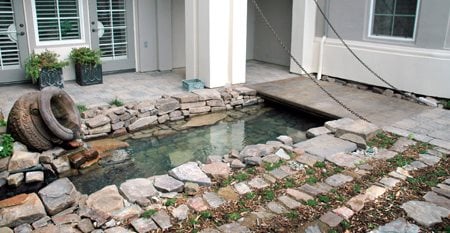
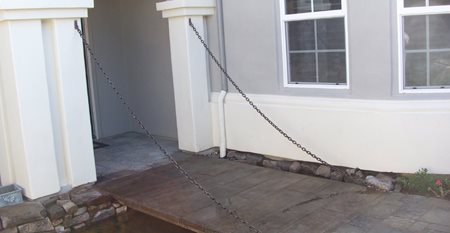
In this project we constructed a faux drawbridge to serve as the entrance to the home. The stamped concrete bridge has been detailed with a little acid stain applied with a sponge across the "boards".
Decorative Tips
- Use the head of a nail to add details to the ends of each of the boards. Lightly tamp the nail head into your wet concrete mix after wood texture stamping. The recess left behind looks just like nail holes.
- After forms are pulled, saw cut a ¼ inch deep between boards to add subtle detailing to your board separation
- Add a little more subtle detailing with the use of acid chemical stains and a sponge run across each board with a different shade of color. The effect should be subtle and add some "age" to your newly constructed bridge.
- Build up soil or sand to support the understructure and "dig-out" the underside of the bridge later-on. This saves the effort needed to create support for your forms.
Author Scott Cohen, "HGTV's Favorite Garden Artisan"
The Green Scene
(800) 675-5296
(818) 280-0420
http://www.greenscenelandscape.com/
