- Concrete Pool Deck Info
- Pool Deck Pictures
- Pool Deck Design Ideas
- Stamped Concrete and Other Popular Pool Deck Surfaces
- Stamped Concrete
- Colored Concrete
- Exposed Aggregate
- Modern Concrete Pool Decks
- More Pool Deck Surfaces
- Compare Concrete Pool Decks
- Installing and Maintaining Concrete Pool Decks
- Pool Deck Cost
- Pool Coping
- Pool Deck Sealer
- Pool Deck Repair
- Pool Deck Resurfacing & Coatings
- Pool Deck Cleaning
- Other Resources
- Concrete Contractors: Find Concrete Products and Suppliers
- Design Ideas: Pool Deck Info
When It Rains, It Pours
If you think planning is enough to ensure a successful project, think again - you never know when it will rain on your paradeAny time you are working on an out-of-state project, being the ultimate planner is crucial so you don’t leave any necessary tools, equipment and products behind. Often you will not have the convenience of running down to the local concrete supply house to pick up what you may have forgotten.
On a project we recently completed, located about 75 miles from our office in Georgia, we learned that the mileage adds up quickly, especially when towing a heavy trailer loaded with supplies. Just when you think every consideration has been taken into account and that you have crossed all your t’s and dotted your i’s, jobsite problems will inevitability pop up, which was certainly the case on this job. Unfortunately, some scenarios are simply beyond your control and you will be forced to figure out ways to overcome the adversities. On the positive side, the job came out beautiful and the experience has given me an interesting story to write about and share with you.
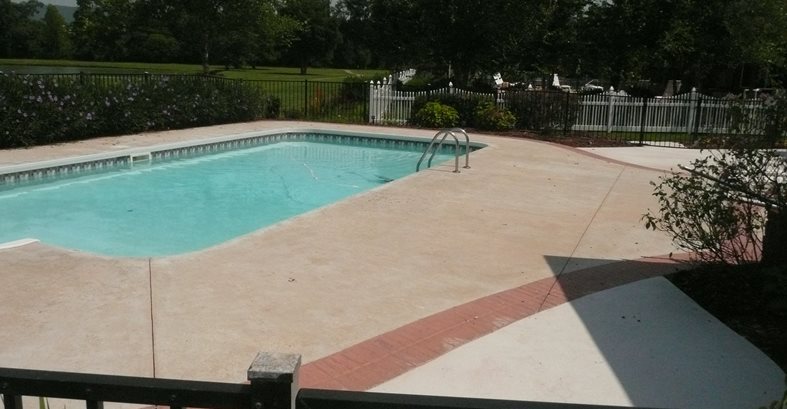
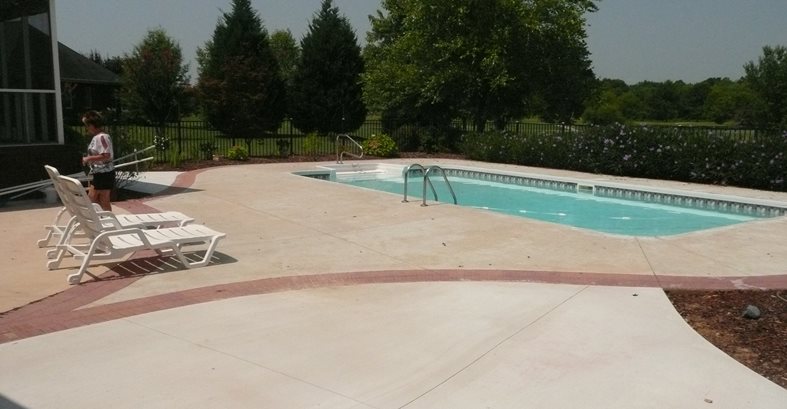
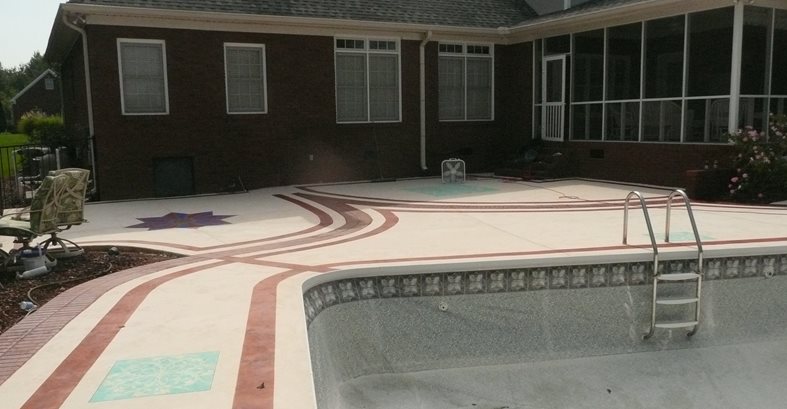
Downpour #1: A Change of PlansThe project involved resurfacing an existing concrete pool deck in Alabama. The first trip to the site from our office was to evaluate the project, measure the square footage, take notes and develop a game plan. During this visit, I told the client that the hedges on the back side of the pool needed to be cut way back prior to our first work day, which she agreed to. After reviewing schedules, we blocked out a specific time frame to mobilize and complete the work, which consisted of surface prep, two applications of skim coat, scoring, staining, stenciling and applying several coats of sealer. About a week after the first jobsite visit, and after our playbook had already been established, the client informed us she wanted to add two additional slabs of concrete to the existing deck, totaling roughly 500 square feet. The additional work was good (so we thought) because of the extra square footage. However, she decided to contract a much cheaper contractor for the add-ons, which meant we had to wait a minimum of 30 days to allow for the moisture to cure out of the new slabs.
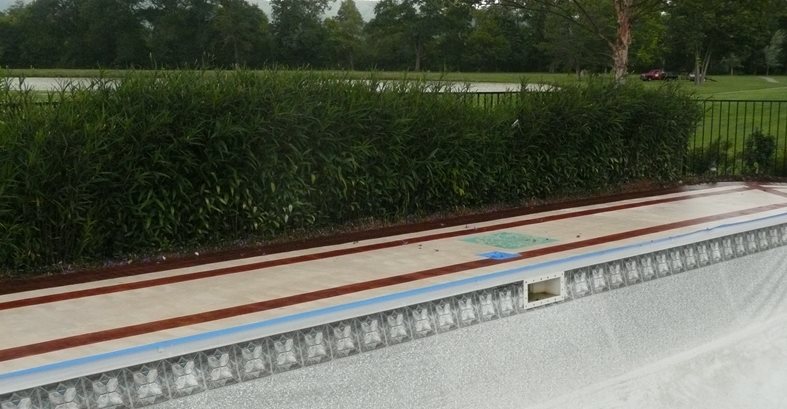
Downpour #2: The Hedges from HellBased on her contractor’s schedule, it was two months before we could start the project, which unfortunately happened to be during a record-setting heat spell in Alabama, making for brutal working conditions. The first item to contend with was the additional two months of hedge growth that the client failed to take care of. Of course, these shrubs had a thick root system that was flush with the top of the concrete, resulting in three sweltering hours of hard-core pruning.
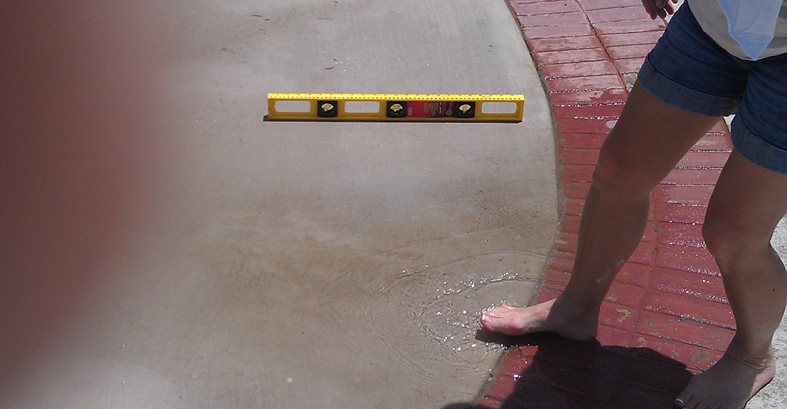
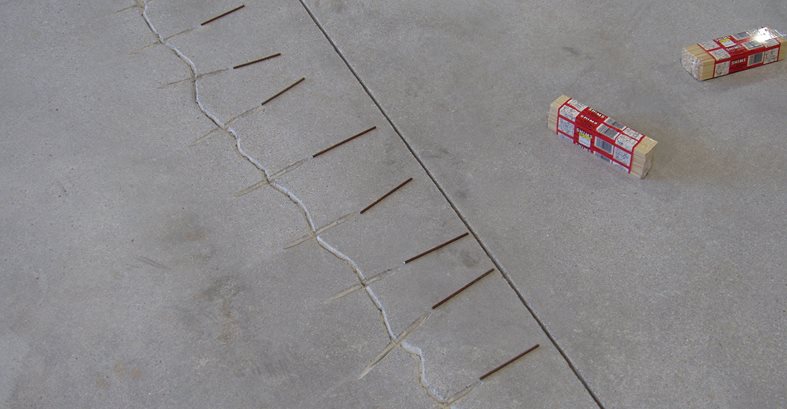
Downpour #3: Correcting Someone Else’s MistakesAlthough the newly installed concrete work performed by the other contractor appeared to be marginal at best, we would later find out there was a serious problem. After we completed repairing the existing main pool deck by stitching the cracks, filling the deep divots with mortar and obtaining the necessary surface profile, we blasted the surface with high-pressure water to prepare for the first coat of primer. We quickly noticed that the residual water runoff was collecting right at the junction of where the new slab had been installed. Yep, the contractor that installed the slab had sloped the concrete the wrong way, exactly where a swale or trough should have been installed to divert the water. Of course, this meant that applying the skim coat would only compound the problem.
Because our client worked out of state and lived in the home part time, we had to try to describe the problem to her over the phone and with emailed images, which proved to be challenging when dealing with someone who does not understand concrete. We explained that if the problem was not resolved, her new investment would continue to hold water in the low area, making it susceptible to mold growth. Since slab removal was not an option, we decided to grind a swale in the junction area. After five hours of grinding, we were getting nowhere fast, so we had to resort to bush hammering.
Downpour #4: Too Much FiberDuring this process, we discovered that the new slabs had been overdosed with coarse fiber reinforcement. If this is the case on one of your projects, do yourself a favor and make sure you burn the fibers off with a propane torch prior to installing a skim coat or topping, because those pesky fibers will stick up through cementitous material and become brittle. Even though we were getting paid for the additional work, I can assure you some not-so-choice words were being directed at the contractor who caused this mess that put us almost two days behind schedule. Doing the “right thing” can be painful at times, but at least you can leave a project with a clean conscious.
Finally, a Ray of SunshineNow that this latest storm was behind us, we were finally ready to prime the deck and install our skim coat material. This process went smoothly overall, despite the extreme weather conditions and borderline heat exhaustion. With the heat index eclipsing 110° F, we could only work in one-hour shifts before needing shade and a water break. You really need to be careful when working in these conditions, and staying hydrated is of colossal importance.
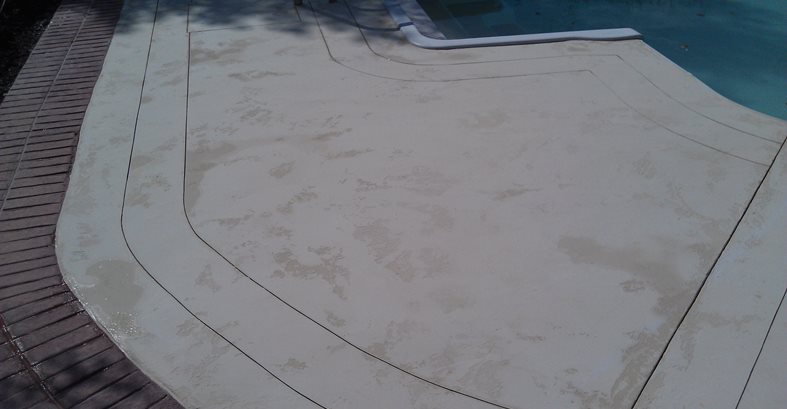
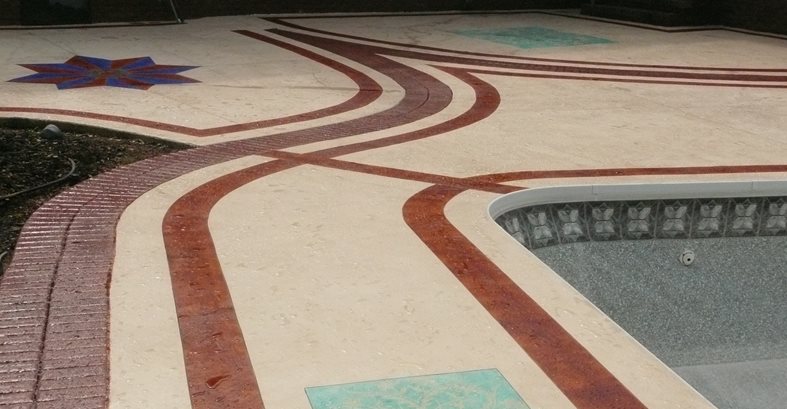
We hand troweled the first coat of tinted Terra Fresco microtopping and then once dry (roughly two hours later), we hand applied a knockdown finish, completing the application of this second coat at 9 p.m. Bright and early the next morning, we started re-sawcutting the pre-existing contraction joints, laying out the designs and score cutting the decorative joints. Because the microtopping was a light integrally colored buff tone, we had to take special precautions not to soil or contaminate the surface, including wearing slip-on booties whenever we walked on it.
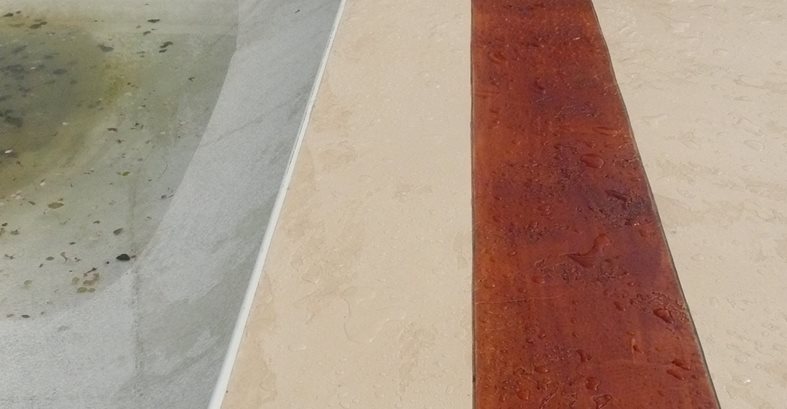
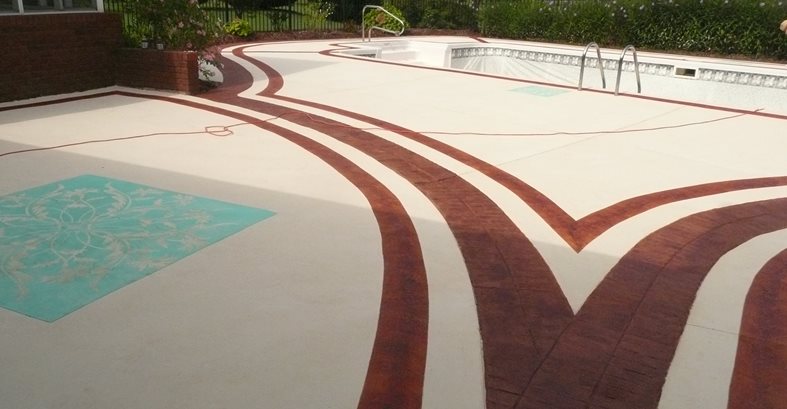
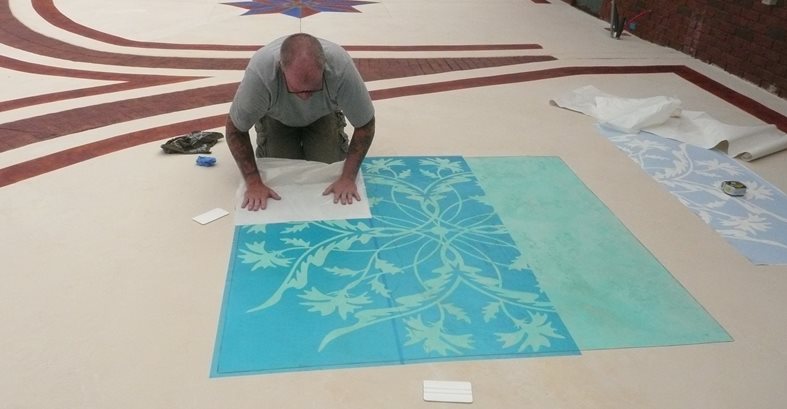
The next day consisted of adding stain colors, which is usually the exciting part of the project However, the heat exhaustion from the previous days seemed to drain our motivation pool. We used water-based stain for all of the sawcut and brick borders and acid stain for the five squares where stencils would be later applied. After the squares were acid stained, the areas needed to be cleaned and neutralized. Once dry, we applied Flattoo stencils from Surface Gel Tek and then squeegeed a layer of gelled acid over the stencils to remove the acid stain color in the exposed areas. Success! At the end of the day, we looked back and were pleased with the progress and actually could see light at the end of the tunnel. The only steps left were to apply two diluted spray coats of sealer and one coat of roller-applied sealer with a nonskid additive, about four or five hours of work.
The Storms ReturnWhen we arrived in the subdivision the next morning, that glimmer of light from the previous day quickly faded. All of the roads were soaking wet because severe thunderstorms had passed through the area overnight, which left us with a pool deck full of tan bark from the plant beds and leaves that stained the surface in areas. So much for wearing the booties!
The next four days tested our patience unlike any other circumstance that I can remember. The first day we spent virtually the entire time palm sanding the stained areas, cleaning off dirt and bark and then pressure washing, which required at least one additional trip back to Alabama for equipment. Days two and three started great, with the first coat of sealer going down without incident. Roughly 20 feet into spraying on the second coat, I made the comment to my wife Lee Ann that “this is going down nicely.” What a really, really stupid thing to say, like saying that “the gold medal is all but locked up” and then not landing the dismount. Apparently the steroid-induced shrubs wanted revenge on us because a wind burst came up and scattered leaves into our wet sealer. As we tried to pick them out (what we could reach), the purple organic dye from the leaves started to etch into the sealer because of the solvent. One hour later, it rained. And no, I am not making this up!
For the rest of day three and the following day, we spent our time picking out the leaves and then rubbing the area with xylene to remove any unwanted blemishes. Fortunately, this worked like a champ. On this last calm and beautiful day, we finally completed spray applying the second coat of sealer. Roughly three to four hours later, the final coat of sealer was roller applied.
A Happy Ending?Unfortunately, our bad luck wasn’t over yet. The final coat of sealer decided to bubble, possibly due to the excessive heat. Granted they were small bubbles, but they needed to be addressed. For those of you in the business, you have probably experienced this on your own project. The fix is relatively easy. Just roll straight xylene onto the surface, which will immediately pop the bubbles. We were halfway complete with this process, and all but tasting that cold beer, when a couple of rain drops, yet a couple of more, and then a severe downpour came out of nowhere. I am not joking when I say there was one cloud, and it was over this damn house! As far as the eye could see in every direction, there was not a cloud in sight. I started to feel like a trucker not getting paid for the mileage!
One last trip to Alabama is what it took to complete this project. Not one word was spoken while rolling down the xylene once again, and we worked very delicately so as to not disturb the shrub gods or Mother Nature again.
What’s the moral of this story? I have none. I bet every one of you has a nightmare project to share. Welcome to mine!
Submit Your Own Project Photos
Read More About Concrete Pool Decks
Return to Concrete Pool Deck Projects
Read more articles by Bob Harris
